How to Use Resin in Decorative Craft Projects A Beginners Guide
The Allure of Resin Crafting
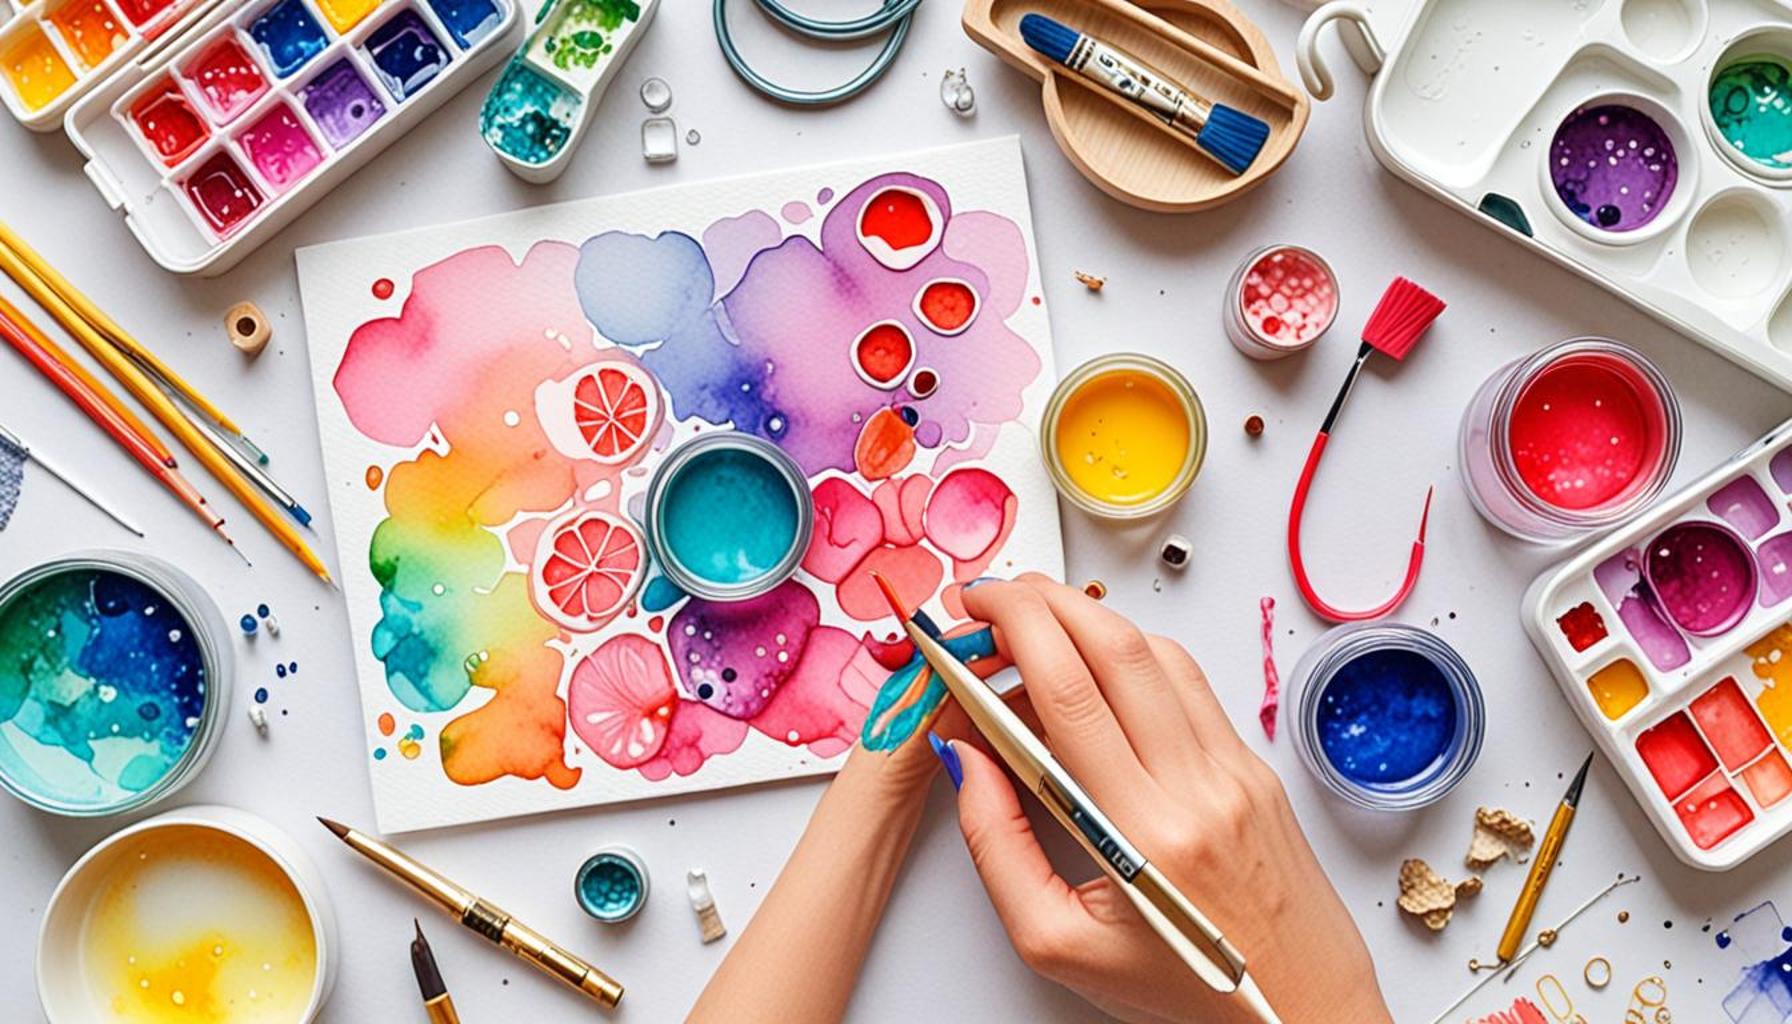
Crafting with resin can transform ordinary materials into stunning pieces of art. It is a versatile medium that allows crafters to create beautiful decorative items, from jewelry to home décor. Its fluid and malleable nature has captured the hearts of artisans worldwide, opening up an expansive potential for creativity. For beginners, the process may initially seem daunting due to the technical aspects involved, but with the right guidance, you’ll soon discover the exciting possibilities that await you in the world of resin crafting.
Types of Resin
A good starting point for any beginner is understanding the types of resin available. Each type has unique properties that affect your crafting experience:
- Epoxy Resin: Widely regarded for its strength and clarity, epoxy resin is commonly used in jewelry-making and creating glossy surfaces for furniture. It cures at room temperature and is known for its excellent adhesion, making it ideal for embedding materials.
- Polyurethane Resin: This type is typically more flexible than epoxy. It is often used for creating castings that require durability and can withstand varying temperatures and conditions, making it a popular choice for mold-making.
- Casting Resin: Specifically designed for pouring into molds, casting resin is perfect for creating larger pieces like tabletops or decorative objects. It tends to have a slower curing time, allowing for better air bubble management.
Safety Precautions
Safety should always be a top priority when working with resin. Be aware that fumes can be harmful, so it’s crucial to always work in a well-ventilated area, such as outdoors or in a dedicated craft room with good airflow. Additionally, wearing gloves and a mask can protect your skin and lungs from potential irritants.
Essential Tools
To embark on your resin journey, you’ll need a few basic supplies. Essential tools needed include mixing cups, stirring sticks, and molds. Mixing cups often come in different sizes, allowing you to measure out the resin and hardener accurately, while stirring sticks help ensure a thorough blend. Molds can be made of silicone or plastic and come in various shapes and sizes for maximum creativity.
Techniques and Creativity
Understanding how to mix resin properly and the various techniques available can greatly elevate your projects. You can explore a myriad of customization options, from incorporating color pigments to adding glitters or even embedding natural elements like flowers, leaves, or seashells for a unique touch. The beauty of resin crafting is that the possibilities are virtually endless – you can create one-of-a-kind pieces that reflect your personal style and creativity.
The Path Forward
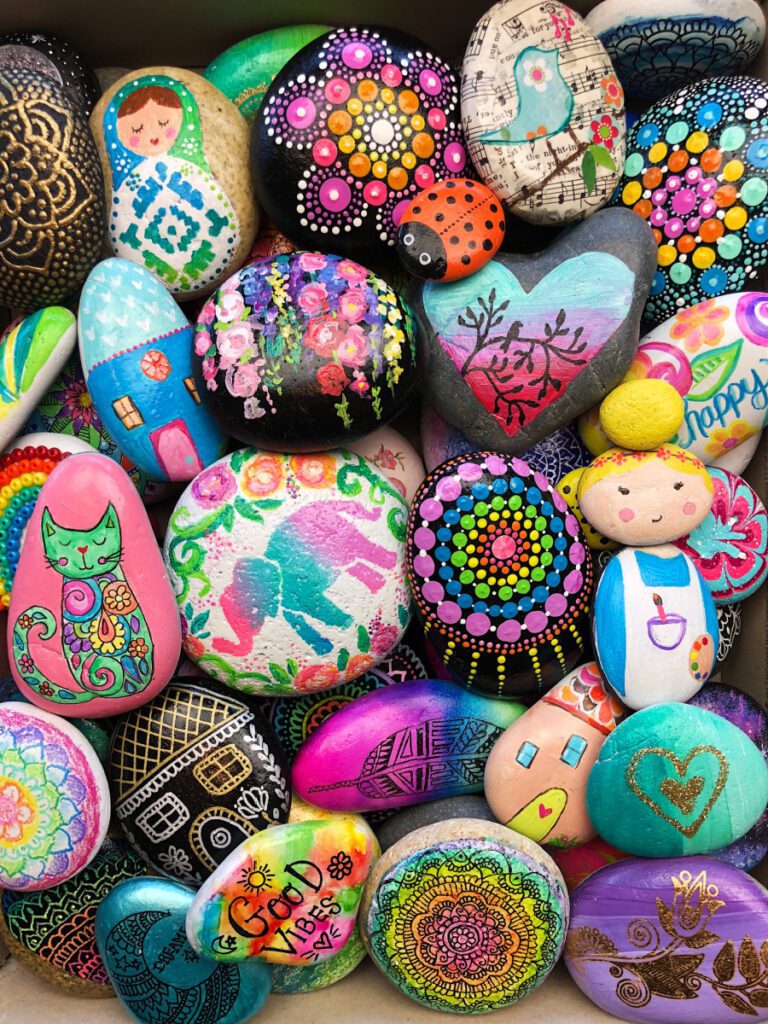
Engaging in resin crafts opens doors to countless creative avenues. Whether you’re making eye-catching coasters, stunning wall art, or intricate jewelry, this medium invites you to explore your creative side. In the upcoming sections of this beginner’s guide, we will walk you through essential tips and techniques to help you get started on your artistic journey with resin, ensuring that each creation is not just an item, but a manifestation of your creativity and imagination.
SEE ALSO: Click here to read another article
Getting Started with Resin Crafting
As you embark on your journey into the fascinating world of resin crafting, it’s fundamental to familiarize yourself with a few key principles that will guide you through your initial projects. From preparation to execution, understanding the steps involved will enhance your experience and yield beautiful results. Let’s delve into the essential aspects of using resin effectively, ensuring that your decorative craft projects come to life with elegance and creativity.
Preparing Your Workspace
Creating a designated workspace is crucial when working with resin. Start by choosing a flat, stable surface that can be easily cleaned, as resin can be messy and spills are likely to occur. Cover your workspace with plastic sheets or silicone mats to prevent any permanent damage. Gather all your materials and tools within reach, which will minimize disruptions during the mixing and pouring process. An organized workspace fosters productivity, enabling you to focus solely on your artistic expression.
Understanding Resin Mixing Ratios
One of the most important aspects of successful resin projects is understanding the mixing ratios. Most epoxy resins require a specific ratio of resin to hardener, typically 1:1 or 2:1, depending on the product. Failure to measure accurately can lead to problems such as improper curing or a sticky finish. Use a digital scale for precise measurements, and mix slowly to minimize bubbles. Follow the manufacturer’s instructions closely for best results, ensuring your resin cures perfectly every time.
Creating Unique Designs
The beauty of resin crafting lies in the ability to design pieces that reflect your personal style. Here are some techniques to add flair to your projects:
- Color Mixing: Incorporate various color pigments into your resin for vibrant effects. Experiment with swirling patterns or layering colors to create depth.
- Inclusions: Embed materials such as dried flowers, gemstones, or even metallic powders to enhance texture and visual interest.
- Resin Art Techniques: Techniques like the dirty pour or blowtorch technique can create unique surface aesthetics, adding an artistic touch to your decor items.
Common Challenges and Solutions
As a beginner, you may encounter challenges while working with resin. Here are some common issues and their solutions:
- Air Bubbles: Bubbles can form during mixing. Use a torch or heat gun to gently pass over the surface after pouring, which helps release trapped air.
- Sticky Finish: If your resin remains tacky after curing, it may be due to inaccurate mixing or insufficient curing time. Double-check ratios and allow extra time if needed.
- Dust and Debris: Ensure your workspace is clean, as dust can settle into the resin while it cures. Consider covering your pieces with a box or plastic container to protect them.
Armed with the right knowledge and techniques, you’re poised to create beautiful, eye-catching resin projects. In the following sections, we will dive deeper into advanced techniques, project ideas, and tips that will further enhance your crafting skills. Your resin adventure is just beginning, and there is so much more to explore!
Exploring the Versatility of Epoxy Resin in Crafting
When you venture into the world of resin crafting, you’re not just working with a material; you’re unlocking a plethora of creative possibilities. Epoxy resin stands out as a favorite because of its exceptional clarity and durability, making it perfect for a variety of decorative projects. From creating stunning coasters to encapsulating flowers or personal mementos, the applications are endless.
Understanding the Types of Resin
In the realm of decorative crafts, two primary types of resin are prominent: epoxy and polyester. Each has its unique set of characteristics that can affect the outcome of your project. Epoxy resin is known for its strength and resistance to yellowing, rendering it ideal for indoor projects. In contrast, polyester resin is more affordable and commonly used for larger pieces. Choosing the right type is crucial to achieving the desired results.
Essential Tools and Supplies
Before you dive into your resin project, ensuring you have the necessary tools and supplies is vital. You’ll need mixing cups, stir sticks, gloves, measuring scales, and a heat gun for bubbles. As a beginner, it’s also beneficial to have a designated workspace that is well-ventilated. This ensures a safe and effective environment for your creative endeavors.
Preparing and Working with Resin
Preparation is key to successful resin art. Start by meticulously measuring your resin and hardener, as ratios are critical for proper curing. Be patient during this phase: mixing too fast can introduce air bubbles that compromise the final product. Furthermore, when pouring your resin, do it slowly to minimize bubbles and ensure an even distribution.You can also incorporate various additives, such as pigments, glitters, or even natural substances like dried flowers or leaves. This allows you to express your creativity while producing unique and personalized items. Experimenting with color combinations and layering techniques can lead to stunning visual effects.
Understanding Curing Time
Most resin projects require a curing time ranging from several hours to a few days. Patience during this period is crucial; rushing can result in imperfections. Understanding the curing process fully can help you manage expectations and plan accordingly. In summary, engaging with resin for decorative art enables crafters to create stunning, individualized pieces worthy of admiration. The journey of learning how to manipulate this medium is as rewarding as the final product itself. So gather your materials, embrace the process, and let your creativity flow!
| Advantages | Key Features |
|---|---|
| Durability | Resin is strong and resistant to damage, ensuring long-lasting pieces. |
| Versatility | Can be used in various projects, from jewelry to home decor. |
| Customizable | Easily mixed with colors, glitter, and other materials to create unique designs. |
| Ease of Use | Suitable for beginners with straightforward mixing and pouring processes. |
SEE ALSO: Click here to read another article
Advanced Techniques in Resin Crafting
Once you’re comfortable with the basics of resin crafting, it’s time to elevate your skills through advanced techniques that can transform your projects. These methods not only enhance aesthetic appeal but also challenge your creativity and precision with resin.
Layering Techniques
Layering is a powerful technique that allows you to build depth and dimension in your resin creations. This method involves pouring different layers of resin at various intervals to achieve unique visual effects. Follow these steps to master layering:
- Timing: Pour your layers while the previous layer is still tacky, which promotes better adhesion. If the first layer has fully cured, sand it lightly for improved bonding.
- Transparency: Use varying degrees of transparency with your resin mixes. You can add different amounts of color pigment to each layer for a stunning 3D effect.
- Embedding More Elements: As layers build, you can embed different elements in each layer — this could be additional flowers, glitter, or even small figurines, creating an intricate journey through your piece.
Creating Textured Finishes
Textured finishes can provide a tactile quality to your resin projects, setting them apart from a standard glossy finish. Here are some popular techniques:
- Using Additives: Incorporate additives such as sand, ground shells, or other natural materials into your resin. This not only enhances texture but also provides a unique look that speaks to nature.
- Stirring Techniques: Instead of mixing colors thoroughly, try stirring only a few times to create a marbled effect. This will enhance visual interest without fully blending the colors.
- Surface Techniques: After applying your top layer, use tools like spatulas or combs to manipulate the surface before it begins to set. This can generate waves, ripples, or other creative designs.
Crafting with Molds
Molds are an exciting way to shape your resin projects into specific forms. Whether you choose silicone molds or homemade options, working with molds opens up endless creativity. Consider these tips:
- Choosing the Right Mold: Select silicone molds for easy release; they come in a myriad of shapes and can cater to different project themes.
- Prepping the Mold: Before pouring, lightly coat your mold with a mold release agent or spray with vegetable oil to prevent sticking and ensure a smooth release.
- Layering in Molds: You can still apply layering techniques when using molds. Just pour a layer, let it cure partially, then add another layer for a stunning effect.
Safety Precautions
As the body of your knowledge expands in resin crafting, it’s essential not to overlook safety. Always work in a well-ventilated area, wear gloves, and consider using a mask, particularly when sanding. Resin can emit fumes that may be irritating if inhaled, so prioritize your personal safety above everything.
These advanced techniques and safety measures will not only allow you to pursue more intricate designs but also ensure a safe and enjoyable crafting experience. As you explore these newfound skills, you’ll enhance your capability to create mesmerizing and one-of-a-kind resin art pieces that will delight yourself and others alike.
SEE ALSO: Click here to read another article
Conclusion
As you embark on your resin crafting journey, understanding both the foundational techniques and advanced methods is crucial for creating stunning decorative projects. By mastering the basics of mixing, pouring, and curing resin, you set yourself up for success and creativity. Incorporating advanced techniques such as layering, textured finishes, and mold crafting not only adds depth and intrigue to your pieces but also allows your unique artistic style to shine. Each layer you pour offers a new opportunity to experiment with color, transparency, and embedded elements, resulting in captivating and personalized art.
But while you enhance your crafting skills, never underestimate the importance of safety precautions. A well-ventilated workspace, protective gear, and proper handling of materials ensure a safe and enjoyable experience that fosters creativity without compromising well-being. Remember that resin crafting is a journey of discovery and experimentation. Every project is an opportunity to learn something new.
As you delve deeper into the world of resin, you’ll find endless inspiration and possibilities waiting to be unlocked. From eye-catching coasters to intricate jewelry designs, the only limit is your imagination. So, gather your supplies and start transforming your creative visions into tangible art. Your adventure in decorative craft projects using resin is just beginning—enjoy every moment!

